11.27.2011

Damn Roman Blinds

I have found true joy in making things for other people. If you value our friendship, you will never (and I mean in a million years) ask me to make roman shades for your house.

Our office has been completed for a year or so now, but lacked some window treatments. Being on the computer between the hours of 10am to 3pm was a battle with the sun. Glare on a computer screen is an instant headache for me.

Not wanting floor length drapes, I priced out some roman shades and cringed at the over $300 price tag. I love all the windows in our house, but I don't think there is a single standard size throughout. I decided that making them myself would be an easy money saving idea.

I hated every single minute of it.

There are only two good things about this project.
1. Cost - $75
2. They are done

Here's the before.


And the after.


Ignore the need for ironing. I'll get to it eventually. I was too eager to get them up and admire my handiwork.

In retrospect, $300 is pocket change compared to the frustrations. Don't be discouraged by my negativity though. I've heard that there are easy versions out there. Personally, I won't be googling 'roman blind tutorial' for a llloooooonng time.

WARNING: The rest of this post is a complete jab at my mother.

In my childhood home we had a beautiful sun room. Notice anything wrong with this picture?


That's right. She needed to complete 10 roman blinds and fell one short. My dad, brother and I used to tease her relentlessly about this.

Mom, this is my sincere apology and I honor you for mastering 9 of them.

11.15.2011

Boy Turkey Onesie

Here is a more boyish turkey onesie. A bow above the eyes though and this could waiver towards the fairer sex. 


Supplies:
  • brown onesie or t-shirt
  • array of colors for the feathers
  • white and black for the eyes
  • red and orange for the beak and red dangling thingy (I googled this and it's called a wattle, but I like my description better)
  • fusible web


Trace your cutouts for all the pieces onto the fusible web and match them with your desired fabric.


Iron the pieces onto the fusible web and cut them out.


Iron them onto the onesie.


If so desired, hand stitch around the feathers for the cuteness factor.


Repeat on the front.


11.14.2011

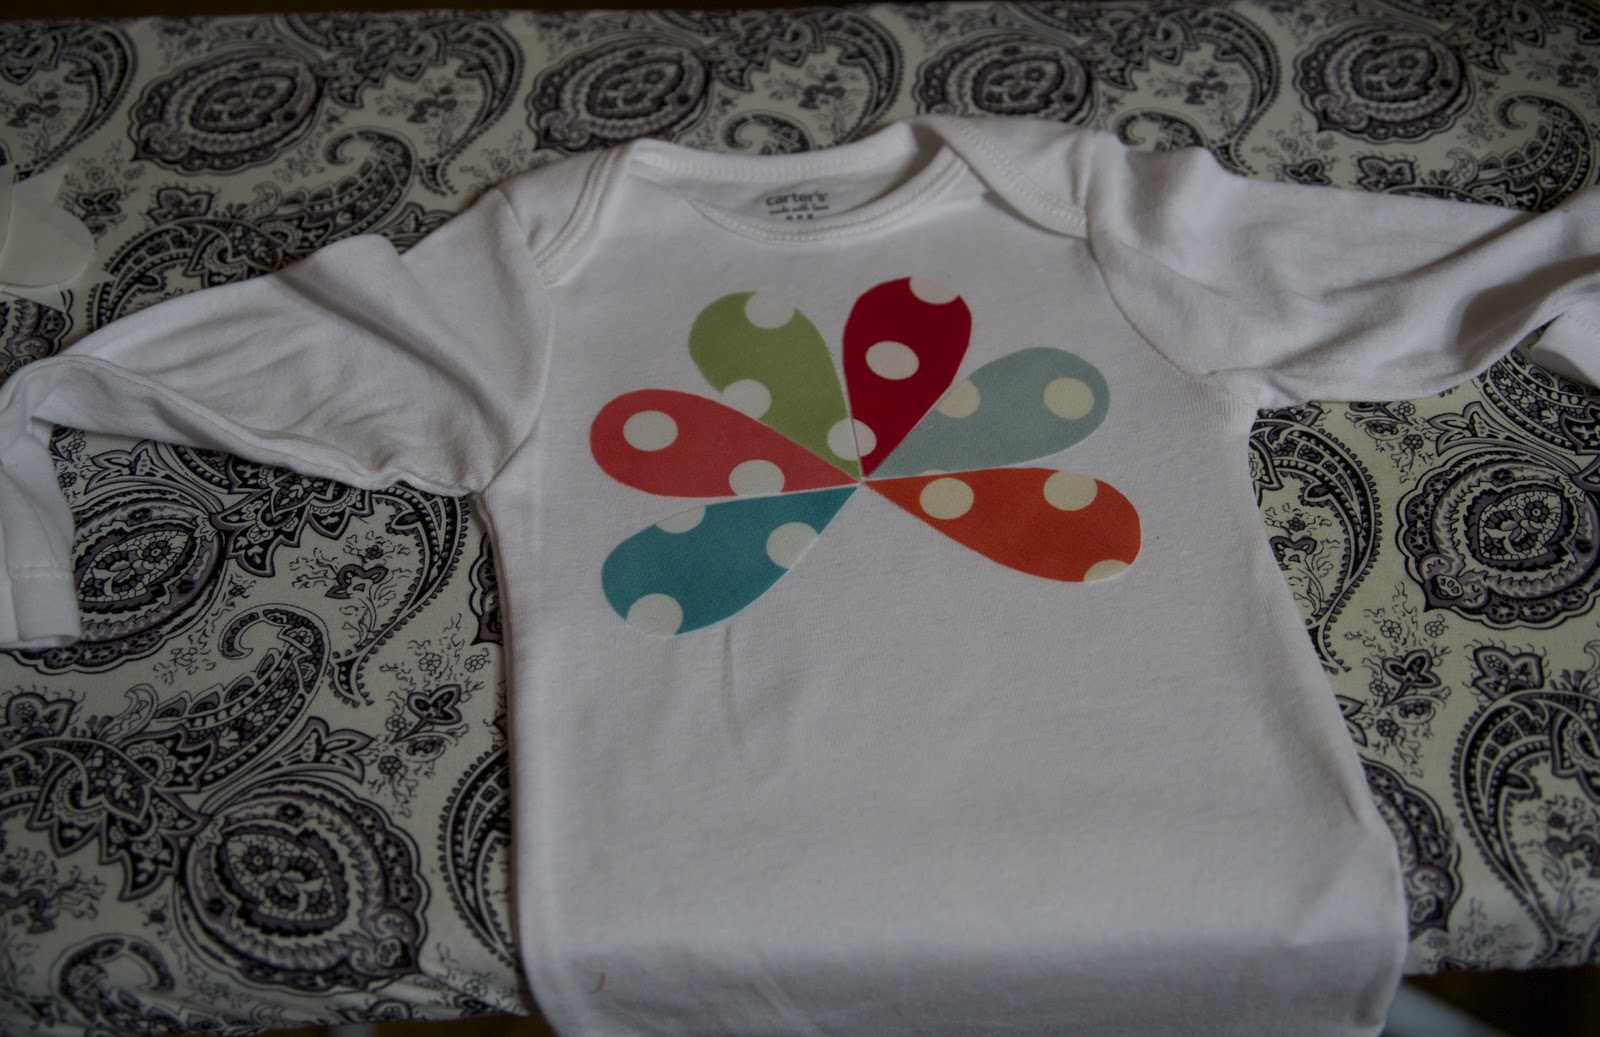
Girl Turkey Onesie

Skeptics may say there's no such thing as a cute turkey. Clearly they haven't seen this gal. 


Supplies
  • white onesie or t-shirt 
  • six fabrics for feathers
  • brown fabric for body
  • white and orange fabric for eyes and beak
  • buttons and ribbon if you so desire
  • fusible web


Make a pattern. I used the top and bottom of a cup for the body and just free handed the feathers.


Trace the pieces onto the fusible web. Cut 'em out.


Iron the pieces onto the back of your designated fabrics (note the word 'back' - I may or may not have done it the wrong way once... or twice). The eyes nor the beak made it into this photo, but don't leave them out of the party.


Lay it all out and admire the adorableness. I appointed buttons for the eyes, but black fabric would work as well.


Once the layout is perfected, iron on the feathers.


I chose to hand sew around the edges, but feel free to use a sewing machine if that is more time efficient. I kind of like the hand made look.


Repeat the ironing and stitching for the body.


Add your eyes and beak, stitch those guys into place. This turkey lurkey is for a girl so I decided to throw on a little bow.


Easy peasy. Slip into a tutu with some tights and you have a solid looking outfit.

10.31.2011

Toasty Seeds

Last night was our impromptu family carving night. What a bunch of winners.


I don't particularly care for pumpkin seeds, but every year the request comes from one angle or another. The worst part is picking them out of the pumpkiny goopdy goop. If you can make it through that step then the rest is a breeze. 


Give them a good washing.


Toss the ole seeds in for a little salt water bath. It's good for their skin and they like it.


Bring them to a boil for about 10 minutes. This step helps them be salty good to the core.


I chose to do a parmesan garlic version, but don't let me stunt your creativity. Shoot for the stars.


Toss in a couple tablespoons of butter and a handful or two of fresh parmesan. Sprinkle on some garlic and salt.


Lay them out to dry for a couple of hours. Here's your chance to do lunch with a friend, take a bath, or feed some trick or treaters. Whatever fits your fancy.


Toss those bad boys in the oven at 300 degrees. Stay on track here though. This is no time for that Real World marathon. Make sure you give them a tossing every 10 minutes or so. I baked mine for about 40 minutes or until they are crispy.


Plop them in a dish with a pumpkin in the middle. 


I don't know about you guys, but I'm excited to serve some ghosts and ghouls tonight.

Happy Halloween!

10.24.2011

Cupcake Jello Shots

How to arrive at a 30th birthday bash.

Step 1: Get a slamming idea from Pinterest and nail it. 


Step 2: Bring them with you and hang out with your amazing coworkers.


10.21.2011

Yarn Wreath

I've been on a sabbatical from my sewing machine. Sometimes we get into small arguments and need to be separated from one another. 

No worries, my need to create is still running strong.  I have been enthralled with all the cute wreath making blogs out there so I've been expanding my skills. Unfortunately, my front door is a bit of an eye sore. Until we get up the energy to replace it, all my creations have been given away as gifts. Unless you are a wreath hating troll, there may be one on your doorstep before you know it. 


Or you could make your own. Not difficult, I promise. Gather up some supplies.
  • Straw wreath
  • Hot glue gun and some sticks
  • Skein of yarn in the color of your choosing
  • Three coordinating colors of felt (two of each color)
  • Accent color of yarn if you so desire (for the white design that you see on mine)


Tie off one end of yarn around your wreath and get to wrapping. As demonstrated in the second picture, I wrap haphazardly and then push it all together to get a kind of messy and layered look.


Don't be embarrassed if you have to do the wrapping in a couple of sittings. It may feel like a life time. Or you can be a boss like me and knock it out in two episodes each of 'Extreme Couponing' and 'Big Bang Theory'.

The next step is completely optional. If you want to decorate with more flowers, or whatever else, then it may not be necessary. I've found that I like less flowers and more blank space, but the design makes it feel less empty.

Hot glue your starting point. Then wrap one direction, leaving equal spacing, then come back the opposite direction to make the Xs. Sounds complicated when I say it, but I have full faith that you'll figure it out.


The white flowers gave me some difficulty when trying to capture their creation with pictures so here is the blog that gave me direction (Miss Priss Blog).

For the gray and purple flowers you'll want one 2-4" circle for the base and six 5" circles for the petals.

Absolutely no comments on my circle making abilities. I'm well aware that my kindergarten teacher is ashamed of me.


Fold one of the big circles in half once and then again. Cut the bottom tip off so you have a flat base.


Then glue it to the base circle. Repeat times six. Sometimes I couldn't fit all six on the base and other times I needed a few more. Go wild.


When you have as many flowers as desired, lay them out on the wreath to get an idea of how it will look. Once adequately pleased with yourself, hot glue the flowers in place.


Insert gorgeous wreath that you would have paid an arm and leg for at West Elm.

How much do I love West Elm? Just as much as Crate and Barrel, Ikea and the Mall of America. Lucky for me, I'll be spotted at all of them next week! 


10.20.2011

MIA

I have many excuses for not posting in almost a month. I've had a lot going on. Some of which include...

  • Sustained life by eating, drinking and sleeping

  • Remained employed by arriving at work

  • Celebrated my grandma's 80th birthday

  • Played nurse to my mom after back surgery

  • Attended a gorgeous wedding with these pretty ladies


  • Watched some Husker football

  • Got my flu shot

As I said, very important things accomplished in the last month.