Anyone who has spent longer than five minutes on my blog would know, but in case you haven't heard, my house is straight 70s. The old ranch did spend three years in the 60s, but clearly took most of its charm from the next decade.
As we renovate rooms, I think we are bringing it up to date quite nicely. If only we could do this faster than a snail's pace.
Our kitchen makes me feel like I'm on display to all the neighborhood any time I happen to find myself in there whipping up a tasty treat. I'll be honest with you, that's not very often, but I still think I deserve a little privacy.
I had two goals in mind since I was really just looking for a temporary fix.
1. Cheap
2. Keeping on with the 70s
There's really no point in arguing with the already determined style for now.
Here's my before and after, along with a little tutorial if you want to follow in my footsteps.
Exhibit A
Solution A
Exhibit B
Solution B
Impressed?
Now some of you who have heard my roman shade horrors have mocked me saying "I thought you weren't doing roman shades ever again."
Touché my dear friends and thanks for listening.
Alas, this version is leaps and bounds easier as well as cheaper. Here's my breakdown.
Four sets of mini blinds from Lowe's - $17.12
Seventies inspired clearance fabric (with a store coupon) - $18.90
Fabric glue - $4.98
Steal of a deal my friends.
Here's the winner blind choice. Measure your window width and determine if you want them to hang inside or outside the frame. Mine are a little odd so I had to go with outside.
The length of the blind only needs to be longer than the window length. The excess is trimmed off.
Whip those bad boys out of the box and fight with them to lay open on the floor. I make it look easy. Prepare for an exhausting battle. You may need a glass of water at this point.
Since I'm basically using this blind for it's bones (AKA the pulley system), it needs to have some disassembling done.
To free all the slats, cut the ladder cord.
Listen to me here or you'll be sorry.
Leave the actual cord that pulls the shade up and down.
Disconnect the bottom piece and pull off the unwanted slats.
If you want to plan better than I did, decide how many folds you want your curtain to have and save that many slats.
I knew I would want 5-7 so I saved 7 and figured I would cut off the ones I didn't use.
Always better to have too many than not enough right?
Measure the window and decide how long the curtain should be.
Measure your cord and mark at your length on both sides.
May I recommend doing it a couple times? This is only said out of experience, I promise.
Now pull the cord back through the bottom slat and tie your knot at the measured length. Cut off the extra cord.
This part will require some of your creativity.
I cut my fabric an inch longer for the width and five inches longer on the length.
The extra length is not optional. It is needed to wrap around the ends of blind.
The extra width allowed me to iron over the edges at a half inch on each side to have a more finished look. I didn't sew it because I'm lazy and may I remind you, this is a temporary project. I used fabric glue instead. HeatnBond would work the same.
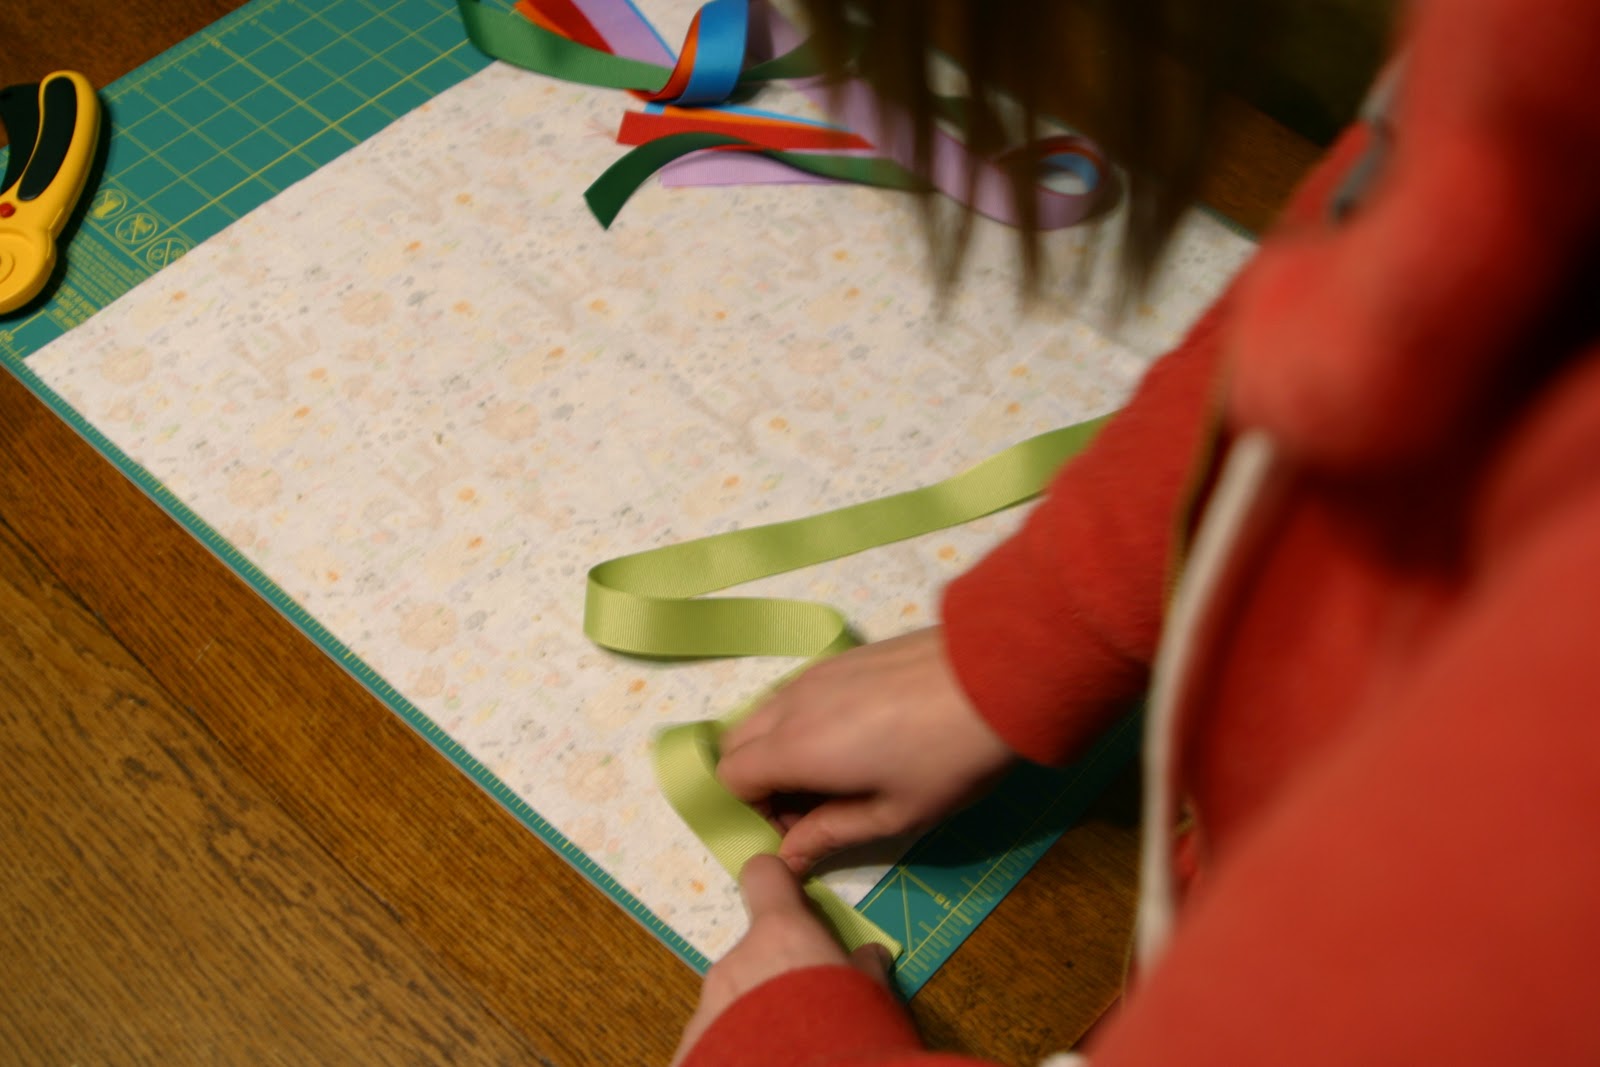
Whatever you choose to do, lay it out so it looks similar to this. Make sure the fabric is wrong side up as this is going to be the back side of the shade once it is completed.
The top of the shade will fit into a bracket so there is no need to make the ends look pretty. The bottom on the other hand will be showing from the sides.
See what I'm saying?
I choose to wrap and glue on a little fabric so there wouldn't be any of the white showing.
It really is the little things that bother me.
Making sure the cords are pulled straight, taut if you will, wrap the fabric around the bottom of the shade and glue in place.
Then ditto with the top of the shade.
If you are a patient person, this would be a good place to stop and let it dry for an hour or so. I accept that I am not so I battled with the fabric slipping every now and again since it was still wet.
Here's where those math skills come in handy.
As previously stated, I think a roman shade looks best with 5-7 folds. Since I'm an easy going chap, I went with 6 folds. Meaning five slats, the bottom one equaling six.
Since my shade is 45 inches, I divided that by 6 and came up with 7.5 inches. That's how far apart the slats should be. Following me here?
Get your measuring tape out and do a little planning. I found it simple to have a measuring device on both sides of the shade to make sure I was glueing straight.
Glue those babies down at whatever distance you have determined acceptable.
Once all the glueing is done, hopefully you end up with something looking like this. If not, clearly it wasn't my awesome instructions that lead you astray.
Let it get good and dry overnight.
Then throw them up.
The brackets are difficult to take pictures of during installation, but I bet you can figure it out.
Ah, privacy is a wonderful thing.