1.15.2012

Shawberg Grill Out

Omaha, Nebraska

January 15th

Sunday night dinner

45 degrees Fahrenheit

Hamburgers on the grill


I couldn't decide if the candid or posed picture humored me more.

1.09.2012

Taggie Blanket

I don't really understand the draw to these taggie type blankets, but they seem to be appearing on everyone's baby registries and in strollers across America.

Besides not liking some of the mismatched looking ribbon that the manufacturers choose, the fabric doesn't really catch my eye either.

I'm trying to be a positive spirited person in good ole twenty twelve though so if you can't beat them, join them.


This is a super easy project and despite my distaste, I think it turned out rather cute.

Supplies:
  • ribbon ( I used six colors of 1" ribbon )
  • flannel fabric
  • coordinating minky fabric
  • the usual thread, scissors and sewing machine business
I made my blanket 18x18" so I got a half yard of each fabric.


Make your squares. As previously stated, I did mine 18x18".


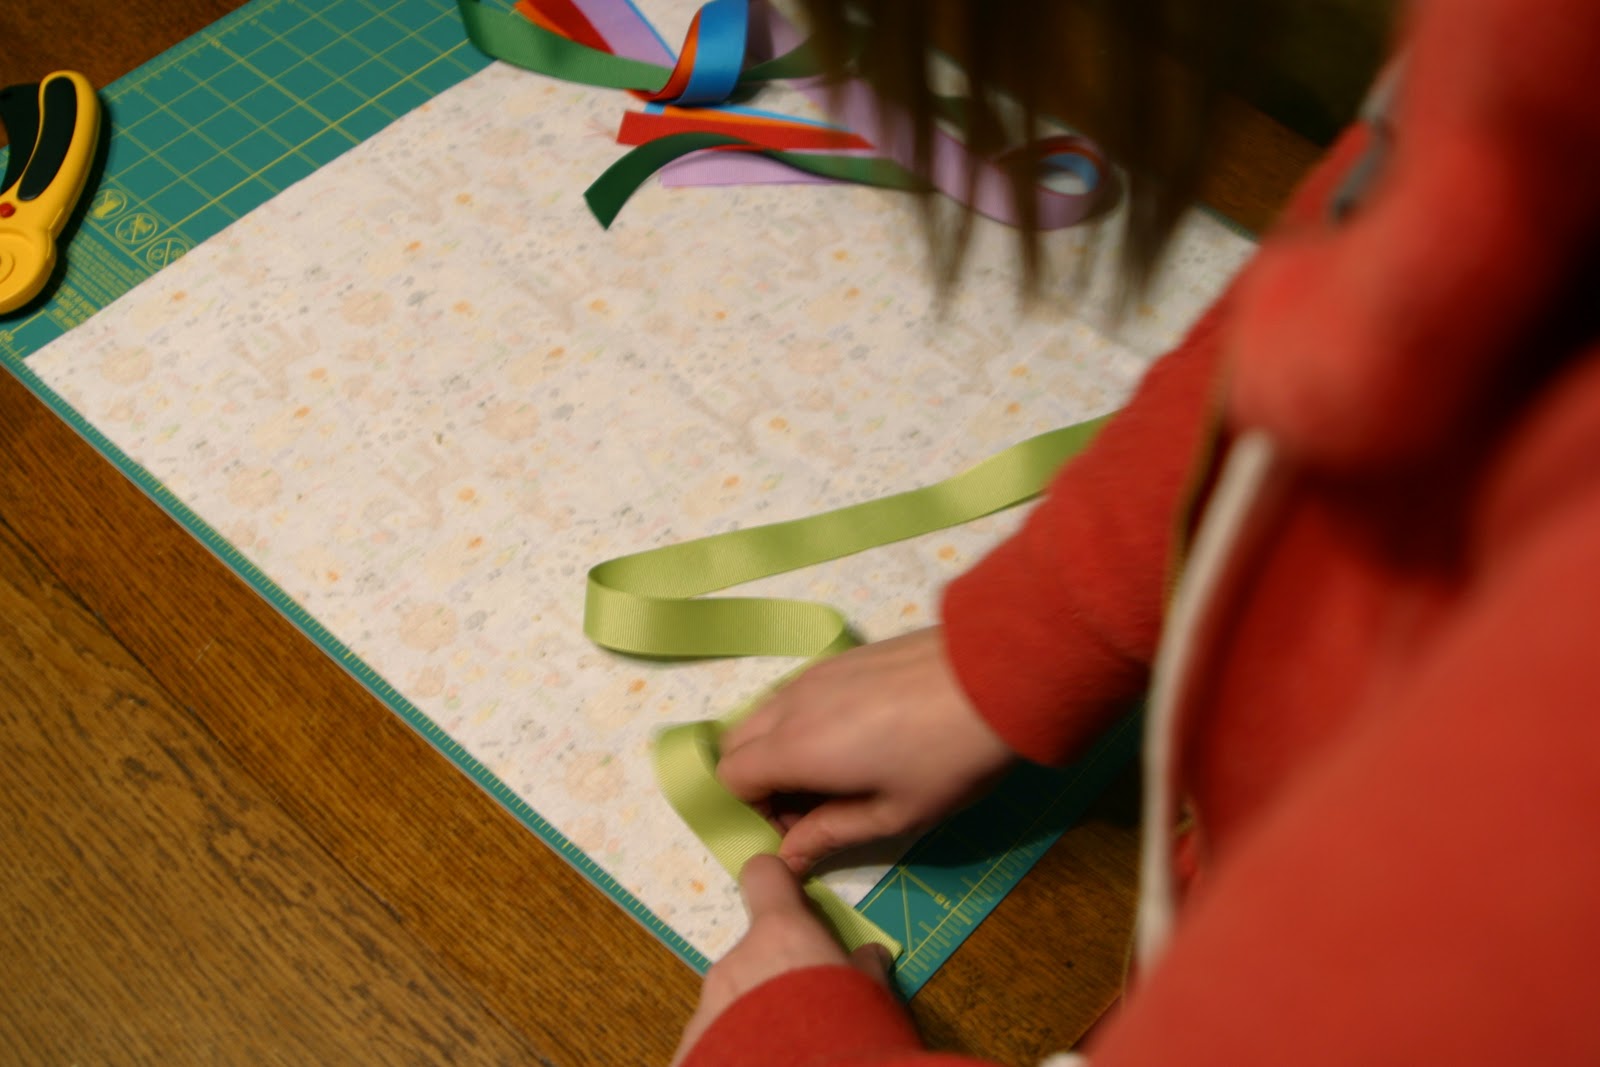
Figure out how large you want your 'taggies' to be.

I owe thanks to whomever was playing with my camera while I was measuring for this awesome action shot.


Mine were 4" long which made the 'taggies' a little over an inch and a half once they were sewn in.


Place the fabric right side up. In the number of sewing projects I've completed, I still manage to pin something to the wrong side of the fabric.

Fold the ribbon in half and pin to the fabric in whatever placement is pleasing. I spaced them 2" apart because I'm all about symmetry.

Note: I didn't get it in the picture, but you'll need to leave one of the ribbons out so you have an opening to flip it right side out. Once you flip, it'll be sewn into place with the top stitch.


Lay your minky on top, right side down and pin in place. You can see my opening at the very top of the picture.


Sew around the edges and then flip right side out.


Add that last ribbon. He's probably feeling pretty left out of the party by now. Top stitch around the edges.

I also stitched an 'X' pattern through the middle just to hold the two pieces of fabric together better.


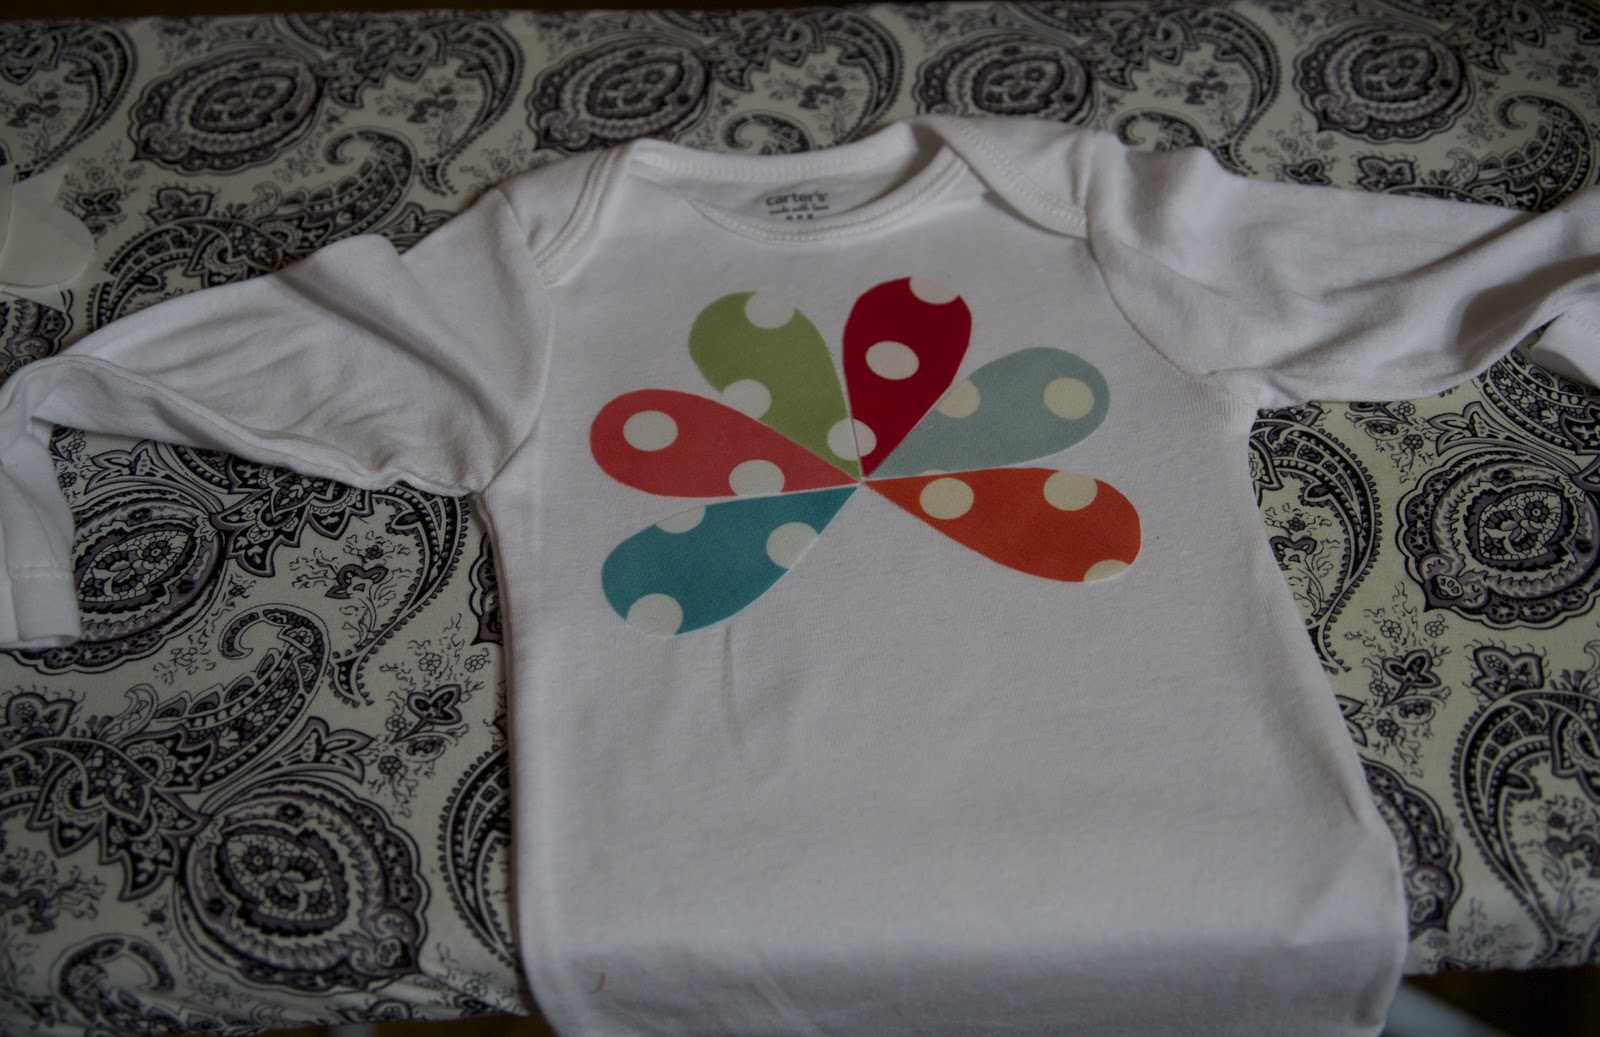
In my eyes, you'll now have a CUTE taggie blanket. Throw it in the closest stroller and listen for the giggles.

1.01.2012

New Year New Generation

That's right folks. The Shaw household will celebrate new life...


Not what you were expecting?

So sorry.

12.27.2011

Whirlwind Holidays

Holy buckets!

I'm going to let that statement be the explanation behind my absence.

Let me catch you up to speed.

Ryan and I picked out the winner Fraiser Fir for Christmas 2011.


 We did a little shopping and gave a few presents.


A couple of those gifts are from my brother. He'll get a little touchy if I try to take all credit. 

This was my Christmas to work which always proves to exhaust me, but we managed to squeeze in a little fun.


Hope your holidays treated you well. Personally, I'm ready to get back into my crafting routine.

11.27.2011

Damn Roman Blinds

I have found true joy in making things for other people. If you value our friendship, you will never (and I mean in a million years) ask me to make roman shades for your house.

Our office has been completed for a year or so now, but lacked some window treatments. Being on the computer between the hours of 10am to 3pm was a battle with the sun. Glare on a computer screen is an instant headache for me.

Not wanting floor length drapes, I priced out some roman shades and cringed at the over $300 price tag. I love all the windows in our house, but I don't think there is a single standard size throughout. I decided that making them myself would be an easy money saving idea.

I hated every single minute of it.

There are only two good things about this project.
1. Cost - $75
2. They are done

Here's the before.


And the after.


Ignore the need for ironing. I'll get to it eventually. I was too eager to get them up and admire my handiwork.

In retrospect, $300 is pocket change compared to the frustrations. Don't be discouraged by my negativity though. I've heard that there are easy versions out there. Personally, I won't be googling 'roman blind tutorial' for a llloooooonng time.

WARNING: The rest of this post is a complete jab at my mother.

In my childhood home we had a beautiful sun room. Notice anything wrong with this picture?


That's right. She needed to complete 10 roman blinds and fell one short. My dad, brother and I used to tease her relentlessly about this.

Mom, this is my sincere apology and I honor you for mastering 9 of them.

11.15.2011

Boy Turkey Onesie

Here is a more boyish turkey onesie. A bow above the eyes though and this could waiver towards the fairer sex. 


Supplies:
  • brown onesie or t-shirt
  • array of colors for the feathers
  • white and black for the eyes
  • red and orange for the beak and red dangling thingy (I googled this and it's called a wattle, but I like my description better)
  • fusible web


Trace your cutouts for all the pieces onto the fusible web and match them with your desired fabric.


Iron the pieces onto the fusible web and cut them out.


Iron them onto the onesie.


If so desired, hand stitch around the feathers for the cuteness factor.


Repeat on the front.


11.14.2011

Girl Turkey Onesie

Skeptics may say there's no such thing as a cute turkey. Clearly they haven't seen this gal. 


Supplies
  • white onesie or t-shirt 
  • six fabrics for feathers
  • brown fabric for body
  • white and orange fabric for eyes and beak
  • buttons and ribbon if you so desire
  • fusible web


Make a pattern. I used the top and bottom of a cup for the body and just free handed the feathers.


Trace the pieces onto the fusible web. Cut 'em out.


Iron the pieces onto the back of your designated fabrics (note the word 'back' - I may or may not have done it the wrong way once... or twice). The eyes nor the beak made it into this photo, but don't leave them out of the party.


Lay it all out and admire the adorableness. I appointed buttons for the eyes, but black fabric would work as well.


Once the layout is perfected, iron on the feathers.


I chose to hand sew around the edges, but feel free to use a sewing machine if that is more time efficient. I kind of like the hand made look.


Repeat the ironing and stitching for the body.


Add your eyes and beak, stitch those guys into place. This turkey lurkey is for a girl so I decided to throw on a little bow.


Easy peasy. Slip into a tutu with some tights and you have a solid looking outfit.